It cannot see every side
The back, underside, and occluded parts may be estimated incorrectly because they are absent from the reference.
Workaround
Provide additional views when available, or manually reshape hidden areas after generation.
Image conversion
Image to 3d model conversion turns a visual reference into a starting mesh for concept work, games, product mockups, and 3D printing. hitem3d helps you move from an idea image to an editable result with less manual modeling.
This workflow uses a flat image as the starting point and produces a three-dimensional asset you can inspect, refine, and export for the next stage of your project.
Choose a well-lit image with the subject separated from its background. A visible front or three-quarter view gives hitem3d more useful shape information.
State what the object is, which details matter, and whether you want a stylized, realistic, low-poly, or print-oriented result.
Check the silhouette, openings, thin parts, and hidden surfaces before moving the asset into your design, game, or fabrication workflow.
A reference image supplies appearance and proportions, while the generated model adds depth that can be viewed from new angles. These related workflows help with different starting materials.
The practical goal is not to copy every pixel. It is to turn visual evidence into a useful three-dimensional starting point that can be checked from multiple views.
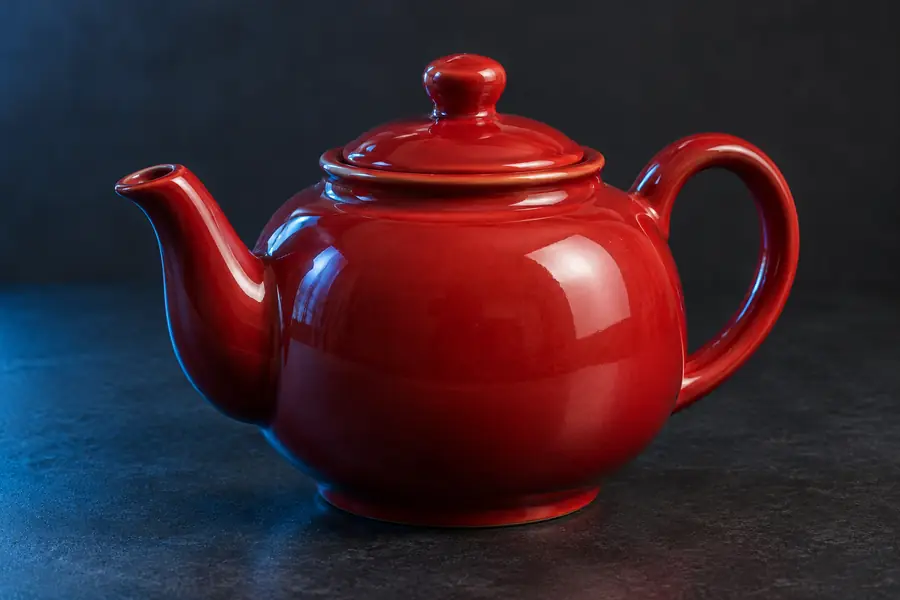 Reference image
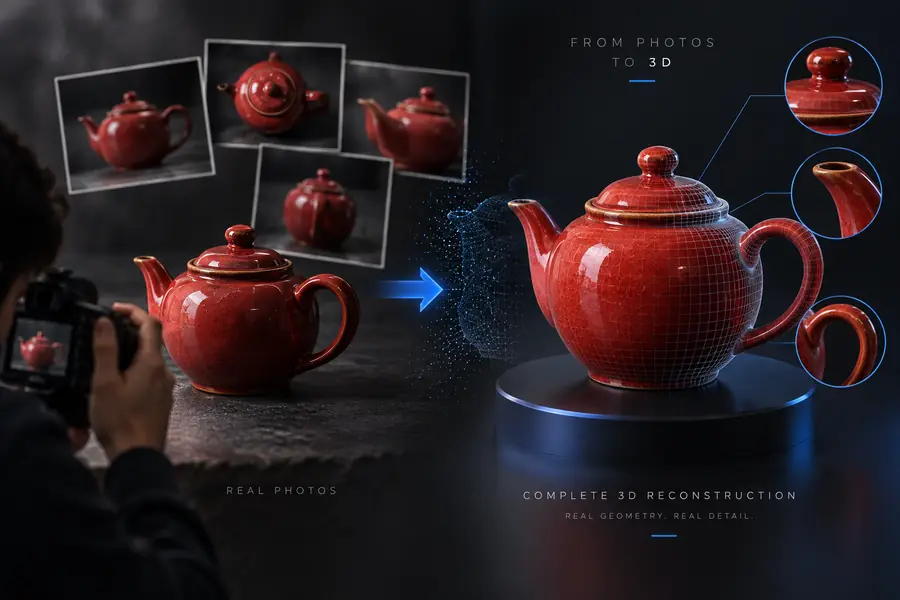 3D result
Use this comparison to set expectations before sending a reference through hitem3d. The best results come from treating the output as an editable asset rather than a perfect scan.
Dimension
Reference image
Flat 2D visual
Generated 3D model
Three-dimensional mesh
Depth information
Reference image
Must be inferred from visible cues
Generated 3D model
Estimated from the reference
Hidden surfaces
Reference image
Usually unavailable
Generated 3D model
Synthesized or incomplete
Best input
Reference image
Clear subject with visible edges
Generated 3D model
A single focused object
Surface appearance
Reference image
Pixels, color, and lighting
Generated 3D model
Geometry with an interpreted surface
Viewpoint flexibility
Reference image
Fixed camera angle
Generated 3D model
Can be inspected from new angles
Editing needs
Reference image
Image retouching or masking
Generated 3D model
Mesh cleanup and material edits
Production readiness
Reference image
Not a 3D asset
Generated 3D model
Requires validation for the final use
A single image is useful but incomplete evidence. Knowing what the conversion cannot establish helps you plan the cleanup pass honestly.
The back, underside, and occluded parts may be estimated incorrectly because they are absent from the reference.
Workaround
Provide additional views when available, or manually reshape hidden areas after generation.
Visual perspective, lens distortion, and missing scale references make precise dimensions unreliable.
Workaround
Set dimensions in a 3D editor using a known measurement or a reference object.
Very thin features, small text, deep holes, and complex mechanical joins may become soft, closed, or uneven.
Workaround
Simplify fragile details for a concept model, then rebuild critical parts with dedicated modeling tools.
A generated mesh may contain non-manifold areas, rough topology, or surfaces that need correction before manufacturing or release.
Workaround
Inspect normals, watertightness, scale, and polygon density in your destination software.
Bring hitem3d a focused image and a clear description of the result you need. Use the generated asset to test proportions, explore variations, or accelerate the first pass before detailed refinement.
Convert my imageThese answers cover the practical questions people ask before using an image-based 3D workflow.
It produces a three-dimensional asset inferred from the visible information in a reference image. The result is best treated as a starting mesh that may need cleanup, reshaping, or material work.
You can start with many types of object images, but clear lighting, visible edges, and a simple background usually help. Blurry, heavily occluded, or cluttered images give the model less reliable shape information.
No. A single image does not contain complete depth, scale, or hidden-surface information, so some geometry must be estimated. Review the silhouette and unseen areas before using the asset in a final project.
It can be a useful starting point for a printable object, but print readiness is not automatic. Check scale, wall thickness, non-manifold geometry, overhangs, and watertightness in your printing software before fabrication.