Beginner starting point

A practical hitem3d tutorial for beginners

This hitem3d tutorial for beginners gives you two simple ways to begin: describe an object in words or start from an image. Pick the route that matches what you already have, then use the final checks to improve the result before you continue working with it.

Free to start · no signup
A generated 3D model presented in the hitem3d workspace

Route A

Path A: start from a written idea

Choose Path A when you can explain the object clearly but do not have a clean reference image ready. Specific structure is more useful than decorative language.

  1. 1

    Define the object

    Name the subject first, then state its main shape, intended style, and the details that must remain recognizable. A short description with concrete nouns is easier to review than a paragraph of atmosphere.

  2. 2

    Add useful constraints

    Mention proportions, visible parts, pose, materials, or a plain background when those details matter. Avoid asking for several unrelated objects in one request while you are learning the workflow.

  3. 3

    Inspect the first result

    Look at the silhouette, openings, thin parts, and contact points before judging small surface details. Treat the first output as a draft that tells you what to clarify next.

  4. 4

    Refine one issue

    Change one important instruction at a time. If the shape is wrong, fix the shape before adding color, texture, or extra accessories so you can see which change helped.

Text-led and image-led starting points
2 routes
A focused beginner sequence for the text route
4 steps
Silhouette, structure, and refinement review
3 checks

Route B

Path B: start from an image

Choose Path B when the shape is easier to show than to explain. The image gives you a visual reference, but it does not remove the need to check the generated geometry.

One view can hide important structure

A front-facing image may not show the back, underside, depth, or how separate parts connect.

Workaround

Use a reference with visible sides when possible, and describe hidden or important parts in the accompanying instruction.
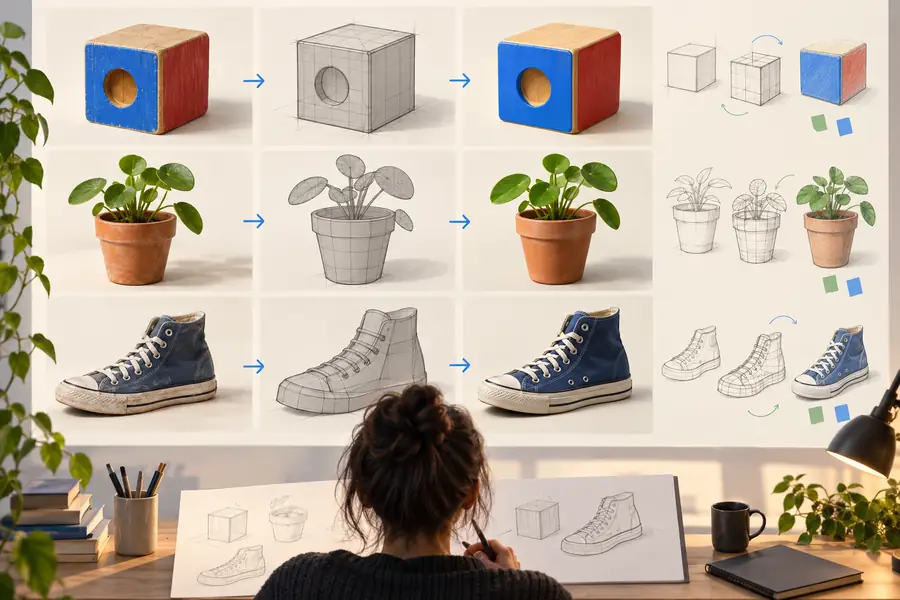

Thin details may not survive the conversion

Cables, narrow handles, sharp tips, and tiny gaps can become weak, merged, or difficult to inspect in the first result.

Workaround

Make fragile features thicker or simpler in your request, then review them at a useful viewing scale.

A reference is not a finished specification

Lighting, shadows, perspective, and background objects can be mistaken for part of the subject if the image is visually busy.

Workaround

Crop to the main object, use a clear reference, and state which visible elements should be treated as the model.

Image similarity is not the same as usable geometry

A result can look convincing from one angle while still needing work for animation, editing, or physical output.

Workaround

Rotate the result, check intersections and openings, and move to a dedicated cleanup tool when the project requires production-ready topology.

A beginner reference screen for learning the hitem3d workflow Starting reference
A generated 3D model prepared for closer inspection First model draft
Compare structure before surface detail. A useful beginner result is one you can inspect and improve, not merely one that looks attractive in a single view.

Decision table

Final check: choose the cleaner route

Use this comparison after your first attempt. The better route is the one that gives you the clearest control over the object, not automatically the one with more detail.

Path A: written idea
Path B: reference image

Best starting asset

Path A: written idea

A clear description of the object

Path B: reference image

A focused image showing the subject

Main advantage

Path A: written idea

You control the requested features directly

Path B: reference image

The visible shape is easier to communicate

Most useful for

Path A: written idea

Simple concepts, stylized objects, and variations

Path B: reference image

Recognizable objects with a useful visual reference

Main risk

Path A: written idea

Vague wording can produce an unfocused shape

Path B: reference image

Hidden sides and background details may be misunderstood

First review

Path A: written idea

Check whether the silhouette matches the description

Path B: reference image

Check whether the model follows the subject rather than the background

Best refinement

Path A: written idea

Clarify one missing or incorrect feature

Path B: reference image

Simplify the reference or explain an obscured feature

When to switch routes

Path A: written idea

Switch to an image when words cannot express the form

Path B: reference image

Switch to text when the image leaves key structure ambiguous

Beginner success signal

Path A: written idea

You can explain why the output differs from the request

Path B: reference image

You can identify which visible parts need correction

Make your first model with a clear starting point

You do not need to master every 3D term before beginning. Choose the text route if your idea is easy to explain, choose the image route if the shape is easier to show, and keep your first request narrow enough to evaluate. hitem3d becomes easier to learn when every revision has one clear purpose.

Start creating a 3D model
  • Begin with one recognizable object
  • Review the silhouette before fine detail
  • Refine one change at a time

Beginner questions

Tutorial FAQ

Start with one recognizable object that has a clear silhouette and a manageable number of parts. A simple prop, figurine, or household item makes it easier to tell whether the first result matches your intention.

Begin with text when you can describe the shape, proportions, and important features clearly. Begin with an image when the form is easier to show than explain, but remember to check hidden sides and structural details.

Include the object, its main shape, its important parts, and the style or proportions you want. Avoid stacking many unrelated requests together; focused instructions make the first result easier to evaluate and refine.

Rotate it and inspect the silhouette, thin features, openings, intersections, and parts that should connect. If the model only looks correct from one angle, treat it as a draft and clarify the weakest area.

No. The workflow is designed to begin with an object description or a reference image rather than advanced modeling knowledge. Basic visual judgment and a willingness to make focused revisions are enough for a first attempt.

Start creating
Start creating