First-time creator
You have a rough object idea but no modeling experience or scene prepared.
Begin with a compact description, inspect the first shape, and use the result to learn what details matter.
hitem3d tutorial for beginnersBrowser 3D workspace
Use hitem3d online free to move from a short idea or visual reference toward a 3D model without making desktop setup the first obstacle. Start with a focused description and refine the result from there.

Related routes
The online route is most useful when you want to test an idea quickly, then choose a more specific workflow when your input or output needs become clearer.
Starting points
Different users arrive with different inputs. These four routes show where an online workflow can save time and where a more focused page may help.
You have a rough object idea but no modeling experience or scene prepared.
Begin with a compact description, inspect the first shape, and use the result to learn what details matter.
hitem3d tutorial for beginnersYou already have a product photo, sketch, or character image to use as direction.
Keep the reference central while translating its visible form into a model brief.
image to 3d modelYou are checking an idea from a phone rather than sitting at a full desktop workstation.
Use a lightweight browser entry point and decide later whether the result needs a larger review screen.
what is hitem3d on iphoneYou want a concept that may eventually become a physical object.
Treat the generated form as a starting mesh and inspect scale, thickness, joins, and printability before production.
split for 3d printingSimple handoff
A useful result starts with a specific brief and ends with deliberate inspection. The browser removes setup friction, but judgment still belongs in the loop.
Name the subject, silhouette, style, proportions, and any features that must remain visible. Concrete nouns produce a clearer starting direction than broad mood words alone.
Check the overall shape, recognizable details, symmetry, and unwanted artifacts. Compare the output with the purpose you had in mind before adding more detail.
Adjust the brief when the result misses the target, then save or move the concept into the next tool for cleanup, texturing, rigging, or fabrication.
Workflow comparison
The browser route and a traditional desktop application solve different problems. Use this comparison to decide where the online starting point belongs in your process.
First step
Online route
Open a browser and prepare a short model brief.
Installed 3D software
Install or launch a full 3D application and prepare a scene.
Primary strength
Online route
Fast concept exploration from text or a visual starting point.
Installed 3D software
Detailed manual modeling and scene control.
Learning curve
Online route
Lower for a first experiment, especially when starting from an idea.
Installed 3D software
Higher, with more tools and concepts to understand.
Best review focus
Online route
Silhouette, recognizable form, and direction.
Installed 3D software
Topology, materials, lighting, rigging, and technical polish.
Iteration style
Online route
Revise the brief and compare new results.
Installed 3D software
Edit geometry and settings directly inside the scene.
Next handoff
Online route
Move a promising concept into a specialist cleanup or production workflow.
Installed 3D software
Continue refining in the same application or export to another tool.
Visual checkpoint
The important change is not only visual. A browser result becomes useful when its form is clear enough to review, revise, or pass into a more controlled production step.
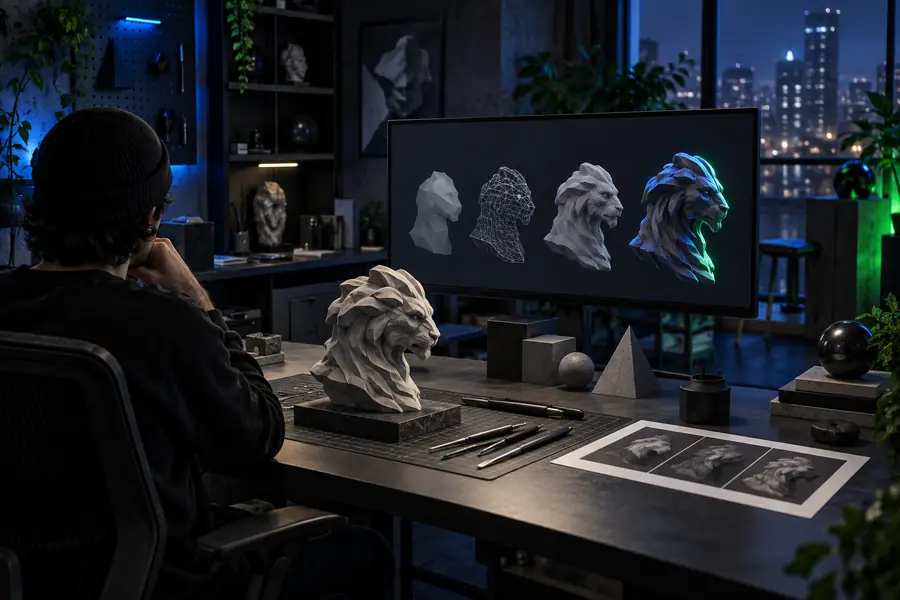 Starting direction
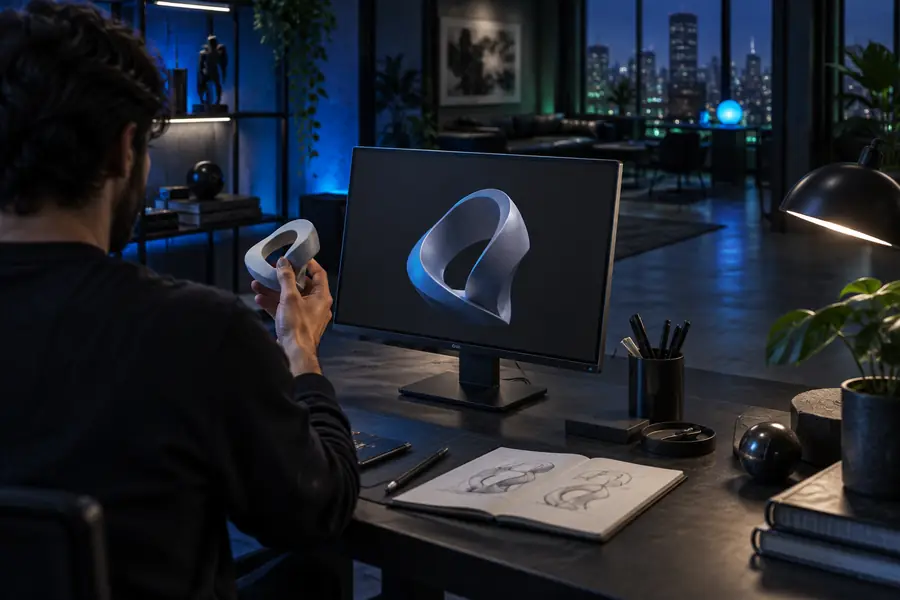 Model concept
Honest boundaries
An online route is convenient, but convenience does not remove the technical checks required for professional assets or physical output.
Small construction features, exact dimensions, hidden geometry, and specialized mechanisms may be simplified or interpreted loosely.
Workaround
State the critical features first, then plan a manual cleanup pass.
Manifold geometry, wall thickness, supports, scale, and tolerances still need inspection before fabrication.
Workaround
Use a slicer or modeling tool to validate and repair the mesh.
An output can capture the category or silhouette while missing a particular reference's proportions, expression, or design language.
Workaround
Use clearer references and iterate around one visible mismatch at a time.
Complex animation, advanced materials, large scenes, and production asset management may require specialist software.
Workaround
Use the online result as a concept or base, then hand it to the tool suited to the final task.
At a glance
These three labels describe the practical shape of the online workflow without promising more than the route can prove.
Try the workflow
Bring a specific object idea, a useful reference, and a willingness to review the first result. The online route is a practical way to decide whether the concept deserves deeper modeling work.
Generate 3D modelCommon questions
The online route is intended as a browser-first way to explore 3D model ideas without beginning with a desktop setup. Open the workflow, enter a focused description, and review the resulting concept.
Describe the object, its visual style, important features, and the kind of silhouette you want to see. For example, mention proportions, materials, pose, or must-keep details instead of relying only on a broad category.
Not always. Treat the first result as a starting point and check its shape, details, geometry, scale, and intended use before sending it into a print, game, animation, or design pipeline.
It can reduce the effort needed to explore an idea, but it does not replace every specialist tool. Detailed editing, topology work, advanced materials, animation, and production validation may still require dedicated software.
Yes, especially when the goal is to understand how a written idea becomes a visible 3D form. Beginners should keep the first prompt simple, inspect the silhouette, and change one requirement at a time during refinement.